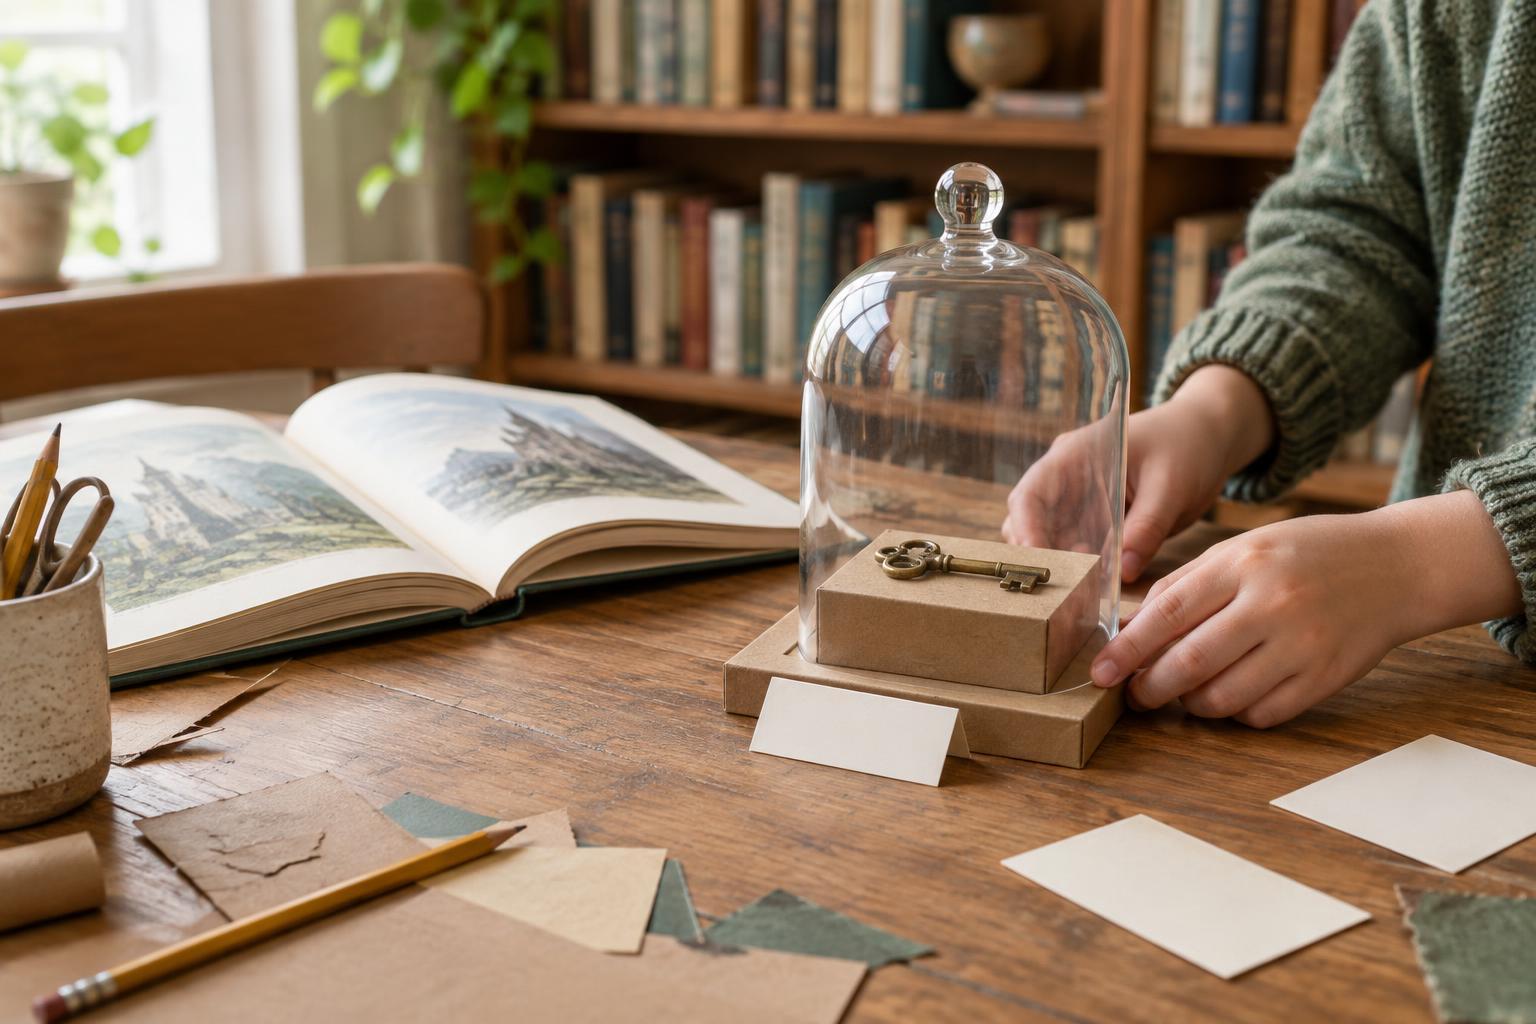
Choose an object worth looking at
A museum exhibit does not need a grand treasure at its center. In a story, a worn shoe, a folded note or an ordinary cup may tell us something about its owner or the world around it. After reading, invite everyone to name objects they remember. Which one would make a visitor stop and ask a question? If nothing obvious comes to mind, look for an object a character carries, loses, gives away or notices more than once.
Before making anything, return to the relevant passage together. What does the book actually say about the object? What have you pictured for yourself? Both can help with the activity, but keeping them separate makes the exhibit more interesting. A reader might say, “The book calls the bag heavy; I imagine its strap is frayed.” That distinction leaves room for other readers to imagine it differently.
Make a stand-in, not a perfect replica
Create a small version of the object from materials already at hand: paper, cardboard, scrap fabric or clean packaging. Drawing it is just as useful as building it. The aim is to make a visitor curious, not to reproduce every detail. If the object is too large, fragile or complicated to model, show one part of it or make a picture that focuses on an important feature.
As you work, ask what choices communicate the story. Would a creased paper letter suggest it has been carried for a long time? Would a bright color make a tool seem treasured rather than merely practical? Some details may come from the text, while others are creative decisions. For a group activity, let people make separate versions of the same object. Comparing them can reveal how much room a story leaves for the reader.
Write a label that rewards a closer look
Give the object a short exhibit label. Start with a name a visitor will understand, then add two or three sentences: where it appears in the story, what a character does with it and why it might matter. You need not explain the whole plot. A label for a borrowed coat, for example, might point out who offers it and leave visitors to consider what that gesture means. If you have invented its appearance, say so in a phrase such as “This model imagines the coat as…”
Add one question beneath the label. “Why might the character keep this?” or “Would this object mean the same thing to someone else in the story?” gives visitors something to discuss without demanding a single correct answer. Younger makers can dictate a label to someone who writes it down, use a drawing with a few spoken words or record their explanation for visitors to hear. The important part is connecting an observable detail to an idea.
Open the exhibit to visitors
Set the model and label on a shelf or table where people can view them without handling a delicate creation. A folded card can serve as a display stand. Invite visitors to read the label, inspect the object and answer its question. If you have several exhibits, arrange them as a small gallery. Makers can take turns being guides, but they can also step back and listen to what others notice.
Afterward, ask whether anyone would change the label. A visitor may spot a detail everyone overlooked or offer another interpretation of the object. That is part of the pleasure of the activity: the finished model begins a conversation rather than ending one. Keep the exhibit for a day, photograph it for a personal reading journal or take it apart and reuse the materials for the next story.