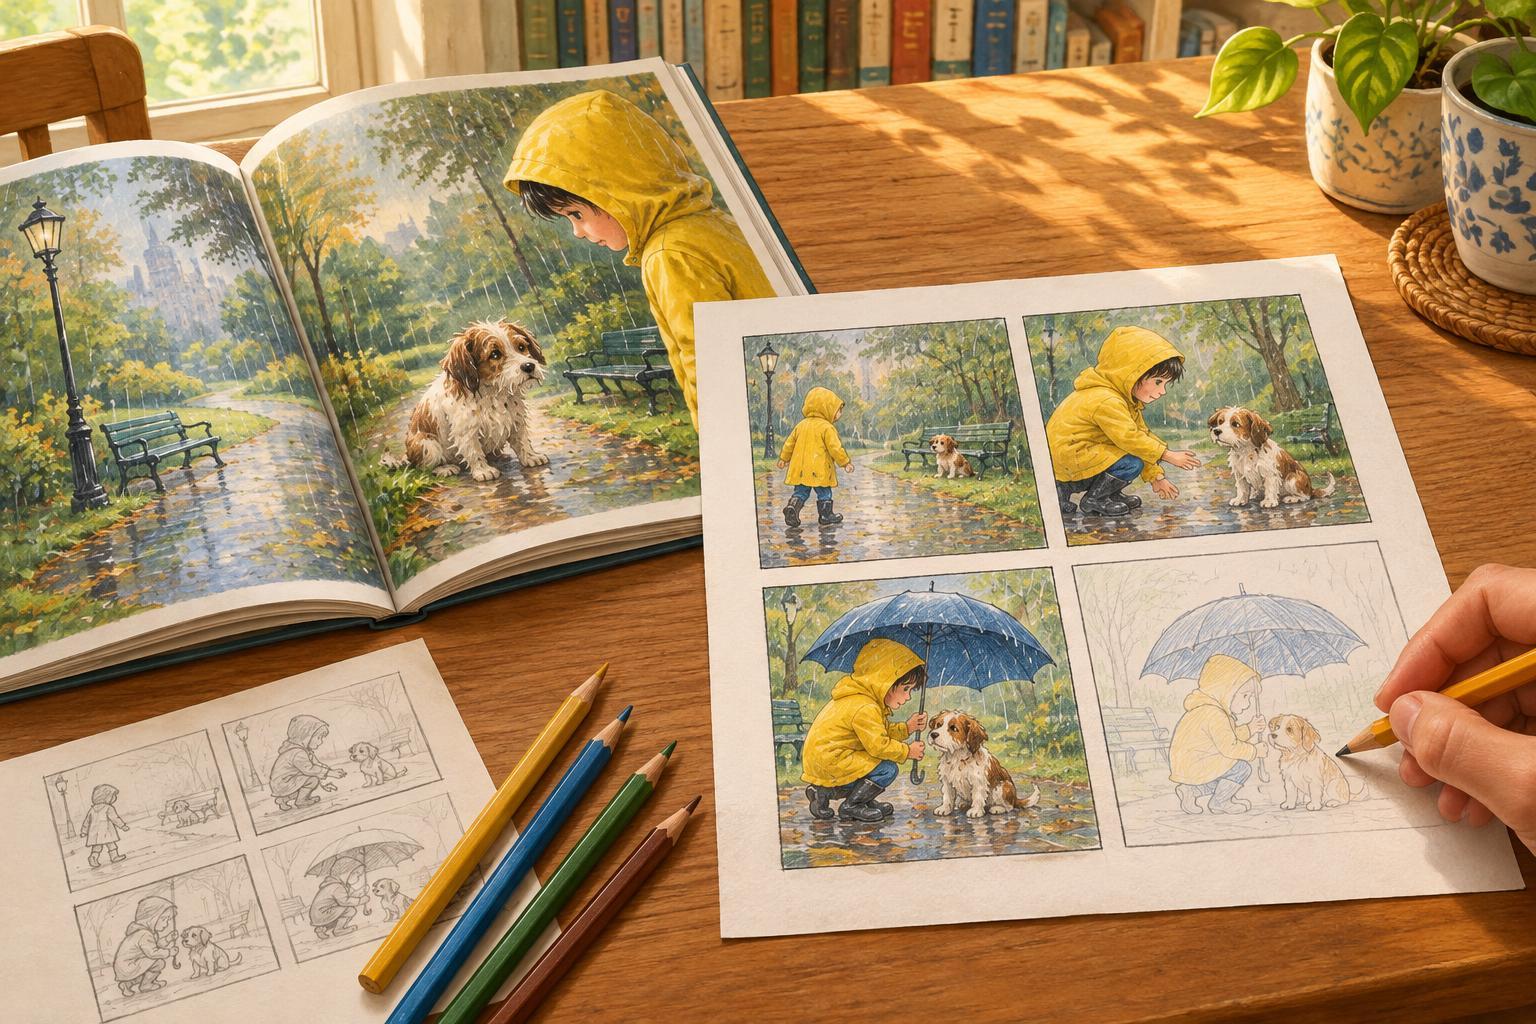
Start with one small idea
A mini zine is a tiny handmade publication, usually shared in a few folded pages. It is a satisfying way to respond to a story because there is room for both words and pictures, but no pressure to write a full review. A reader might make a field guide to a fictional place, a collection of questions for a character, or an illustrated list of objects that matter in the plot.
Choose a story you have enjoyed, or one you are still reading. Then pick a single angle rather than trying to retell everything. You could explore a setting, follow one character’s choices, collect memorable details, or imagine what happens just outside the scenes on the page. The zine should show what caught your attention; it does not need to explain the whole book to someone who has never read it.
Fold an eight-page booklet
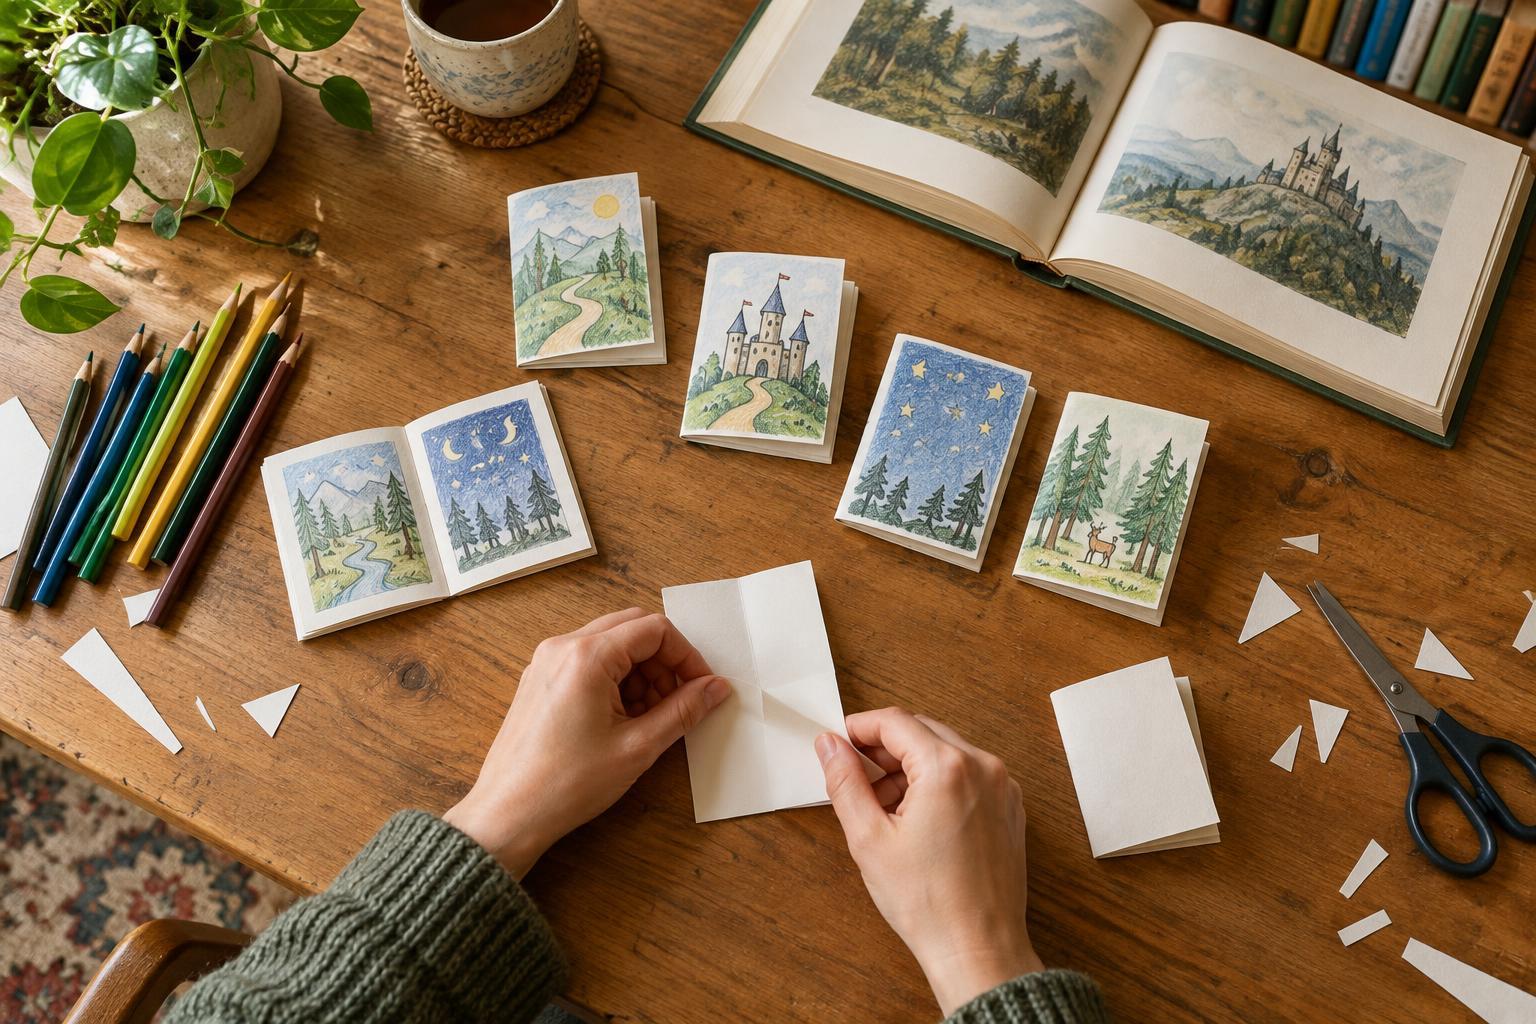
You need one sheet of paper, a pencil and something to add color with if you like. For a classic one-sheet zine, you will also need scissors. If children are taking part, an adult can make the cut. Before adding any artwork, make a blank booklet so you can see how its pages will run.
Fold the sheet in half lengthwise and open it. Fold it in half across its width, then fold it across the width once more. Open the sheet: its creases should divide it into eight rectangles. Cut a slit along the lengthwise center crease, beginning at the first crosswise crease and ending at the third. Do not cut to the edge of the paper. Fold the sheet lengthwise again, gently push the two short ends toward each other until the middle opens out, and fold the resulting pages into a booklet. If the folds resist, reopen the sheet and check that the slit follows only the two middle rectangles.
Number the blank pages lightly in pencil while the booklet is assembled. That matters because the rectangles will not appear in reading order when you open the sheet flat to draw on it. If cutting and folding interrupt the fun, simply fold a few small sheets in half and nest them together instead. The response to the story is the point, not the paper engineering.
Give each page a purpose
Begin with a cover that hints at your chosen angle: perhaps a doorway for a setting zine or a single object for a character zine. Inside, vary the pages so the booklet feels like a journey. A page might hold a sketch with labels; another might contain a three-line description, a question, or a diagram of how two characters are connected. Leave some white space. In a booklet this small, one clear thought often has more impact than a crowded page.
If you want a starting plan, try this sequence: cover, introduction, three pages of observations, one page of questions, one page for an invented extra, and a back cover. The invented extra could be a postcard from the setting or a packing list for a character. Mark imaginative additions as your own rather than presenting them as events from the book. If spoilers are likely, put a brief warning on the cover before sharing the zine with another reader.
Make it yours, then share it
A zine can be tidy or gloriously rough. Use arrows to guide the eye, repeat a color to connect pages, or draw the same small symbol in different places. You can work entirely in pencil, paste in scraps of paper, or leave a blank box inviting someone else to answer a question. If you include words from the book, keep quotations brief and clearly distinguish them from your own writing; paraphrase when the exact wording is not needed.
When the pages are finished, fold the zine and read it from cover to cover. Check that any text near a fold is legible and that the page order tells the story you intended. Make a copy for a friend or bring it to a book group, where different readers’ zines can reveal very different responses to the same book. Or keep it on your shelf as a small record of what you noticed at this particular reading.